Using Jekyll static website generator and GitHub Pages
January 19, 2014 | CommentA while ago I started using this domain as my personal web page (not in the current form), at that time I started using GitHub Pages to host my simple index.html page.
When I added this blog to the domain I realised that I need something more powerful than just simple html-files. Firstly I knew that I still wanted to use GitHub Pages to host the domain, this meant I needed to find some kind of static website generator. Secondly I knew that I wanted to use the Markdown format to generate blog posts and thirdly I wanted a very simple layout.
Finding a layout
The research began and I found several options, mostly based on Jekyll, a static website generator. I found Jekyll Bootstrap which comes with a few features out of the box (comments, tags, categories, etc.) but with the default Twitter Bootstrap theme. Then I found Jekyll Themes which has a bunch of different themes to use with Jekyll. But I couldn't find a very simple, elegant layout.
At last I came across Poole, a simple foundation for Jekyll. It has two themes of which I chose Hyde.
Setting it all up
I downloaded the master-branch from the GitHub page, extracted the content into a folder and issued:
jekyll serve --watch
This will fire up a server on http://localhost:4000 and watch the files in the directory for changes. After having customised the sidebar and added Disqus comments to blog posts it was time to write the first post.
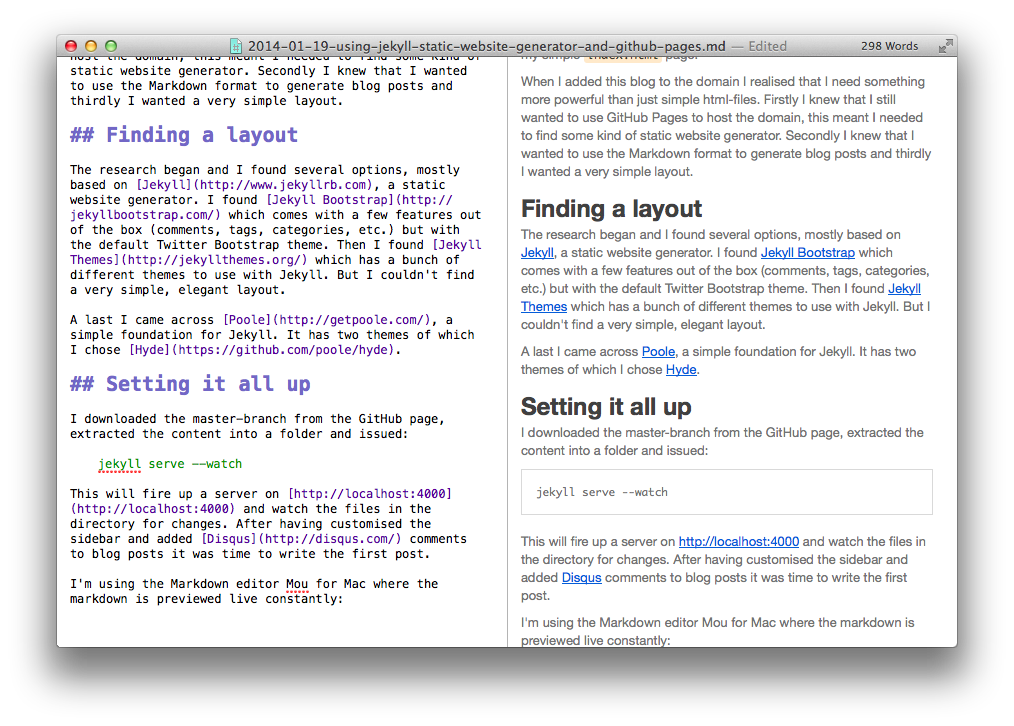
I'm using the Markdown editor Mou for Mac where the markdown is previewed live constantly:

Alternatively the markdown can be viewed directly in the browser by updating the localhost path where the specific post is placed - given that the Jekyll command above has been issued.
Using GitHub pages
Finally to host everything on GitHub the repository USERNAME.github.io has to be created and everything that should be accessible must be pushed to this repo. GitHub Pages support Jekyll out of the box, thus when a repository with the Jekyll directory structure is pushed, the static pages are generated instantly when accessed through the url http://USERNAME.github.io.
To use a custom domain the DNS settings should be updated as described here: https://help.github.com/articles/setting-up-a-custom-domain-with-pages.
That's about it. A simple version-controlled, free hosted blog engine is set up. Blog posts can even by submitted directly through the GitHub repository web interface, as GitHub supports creation of new files via the web interface.
Go to https://github.com/jboysen/jboysen.github.io to see the details of the config-file and directory structure of this site.